Kute and Easy Korker Bow Tutorial
I started by going to Lowe's and getting a couple of different sizes of dowels. I'm sorry I can't remember the sizes, but just choose the sizes that you want your korker ringlets to be. I also had a worker at Lowe's cut the dowels in half so that they would fit in my oven, but if you have the tools to do so, you can do it yourself.
These are basically all the supplies that you need, minus the hot glue and the needle and thread. I know a lot of people are using clothes pins, but who has those on hand? Not me. I just used bobby pins and they worked great.
You begin by clipping the end of the ribbon down to the end of the dowel and twisting it around and down to the bottom of the dowel.
Take a break if your hands and wrists start hurting. I had to because of my carpel tunnel.
I placed them on a cookie sheet so the ribbon wasn't touching the wire racks. 'Bake' them for 20-30 minutes on 250.
Once they're done, take them out and let them cool completely.
Once cooled, take them off the dowels and you should have perfect korker ringlets.
To make my bow, I cut 4'' strips, but you can make them whatever size you want.
Once all your ringlets are cut to the length you want, then start sticking them all, in the order you want, onto the needle and thread. I used floss because it's thicker.
Once they are all through the needle, then take the needle and sew it back through to the back. Try not to go through the same hole.
I had a knot in the end of the thread so it wouldn't slip through when I was sewing.
Pull both ends (the one with the knot too) and take the needle off the thread and tie a few knots. Pull tight so it will stay together better.
Then cut the long ends of the thread off.
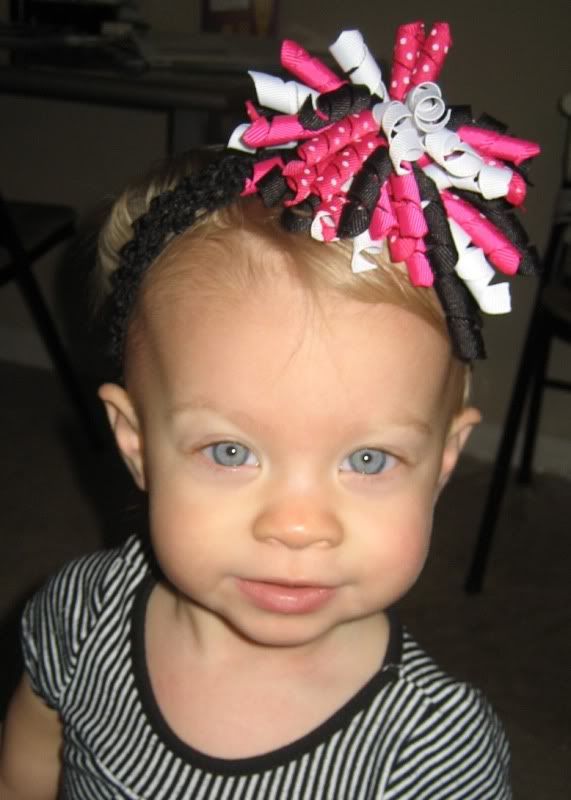
Almost done. I really like how mine looks with the different sizes of korker ringlets.
At this point you can make a ribbon lined alligator clip. I have a tutorial for it HERE.
Put glue on the top of the clip and attach to the bottom of the bow. Make sure to cover the loose ends of the thread.
Ta Da! So easy and cute right?
My daughter, Scotlin, looks so cute wearing it! I love it!




 Posts
Posts


